
Most delays on a new home build do not happen during construction. They happen before it, when a lot that looked build-ready on paper needs grading, a new culvert, or a septic redesign nobody budgeted for. Preparing your land correctly, in order, is what keeps your project on schedule and on budget.
This guide walks through the real steps involved in getting raw or vacant land ready for a foundation, in the order a contractor or installer actually needs them done.
Why Site Preparation Comes Before Everything Else
A home cannot be priced, permitted, or delivered accurately until the site is understood. Lenders and installers ask the same early questions: is the lot buildable, is it accessible, and what will it cost to make it ready. Skipping this step can cause ground-up projects to run over budget.
Step 1: Confirm Boundaries, Zoning, and Permits
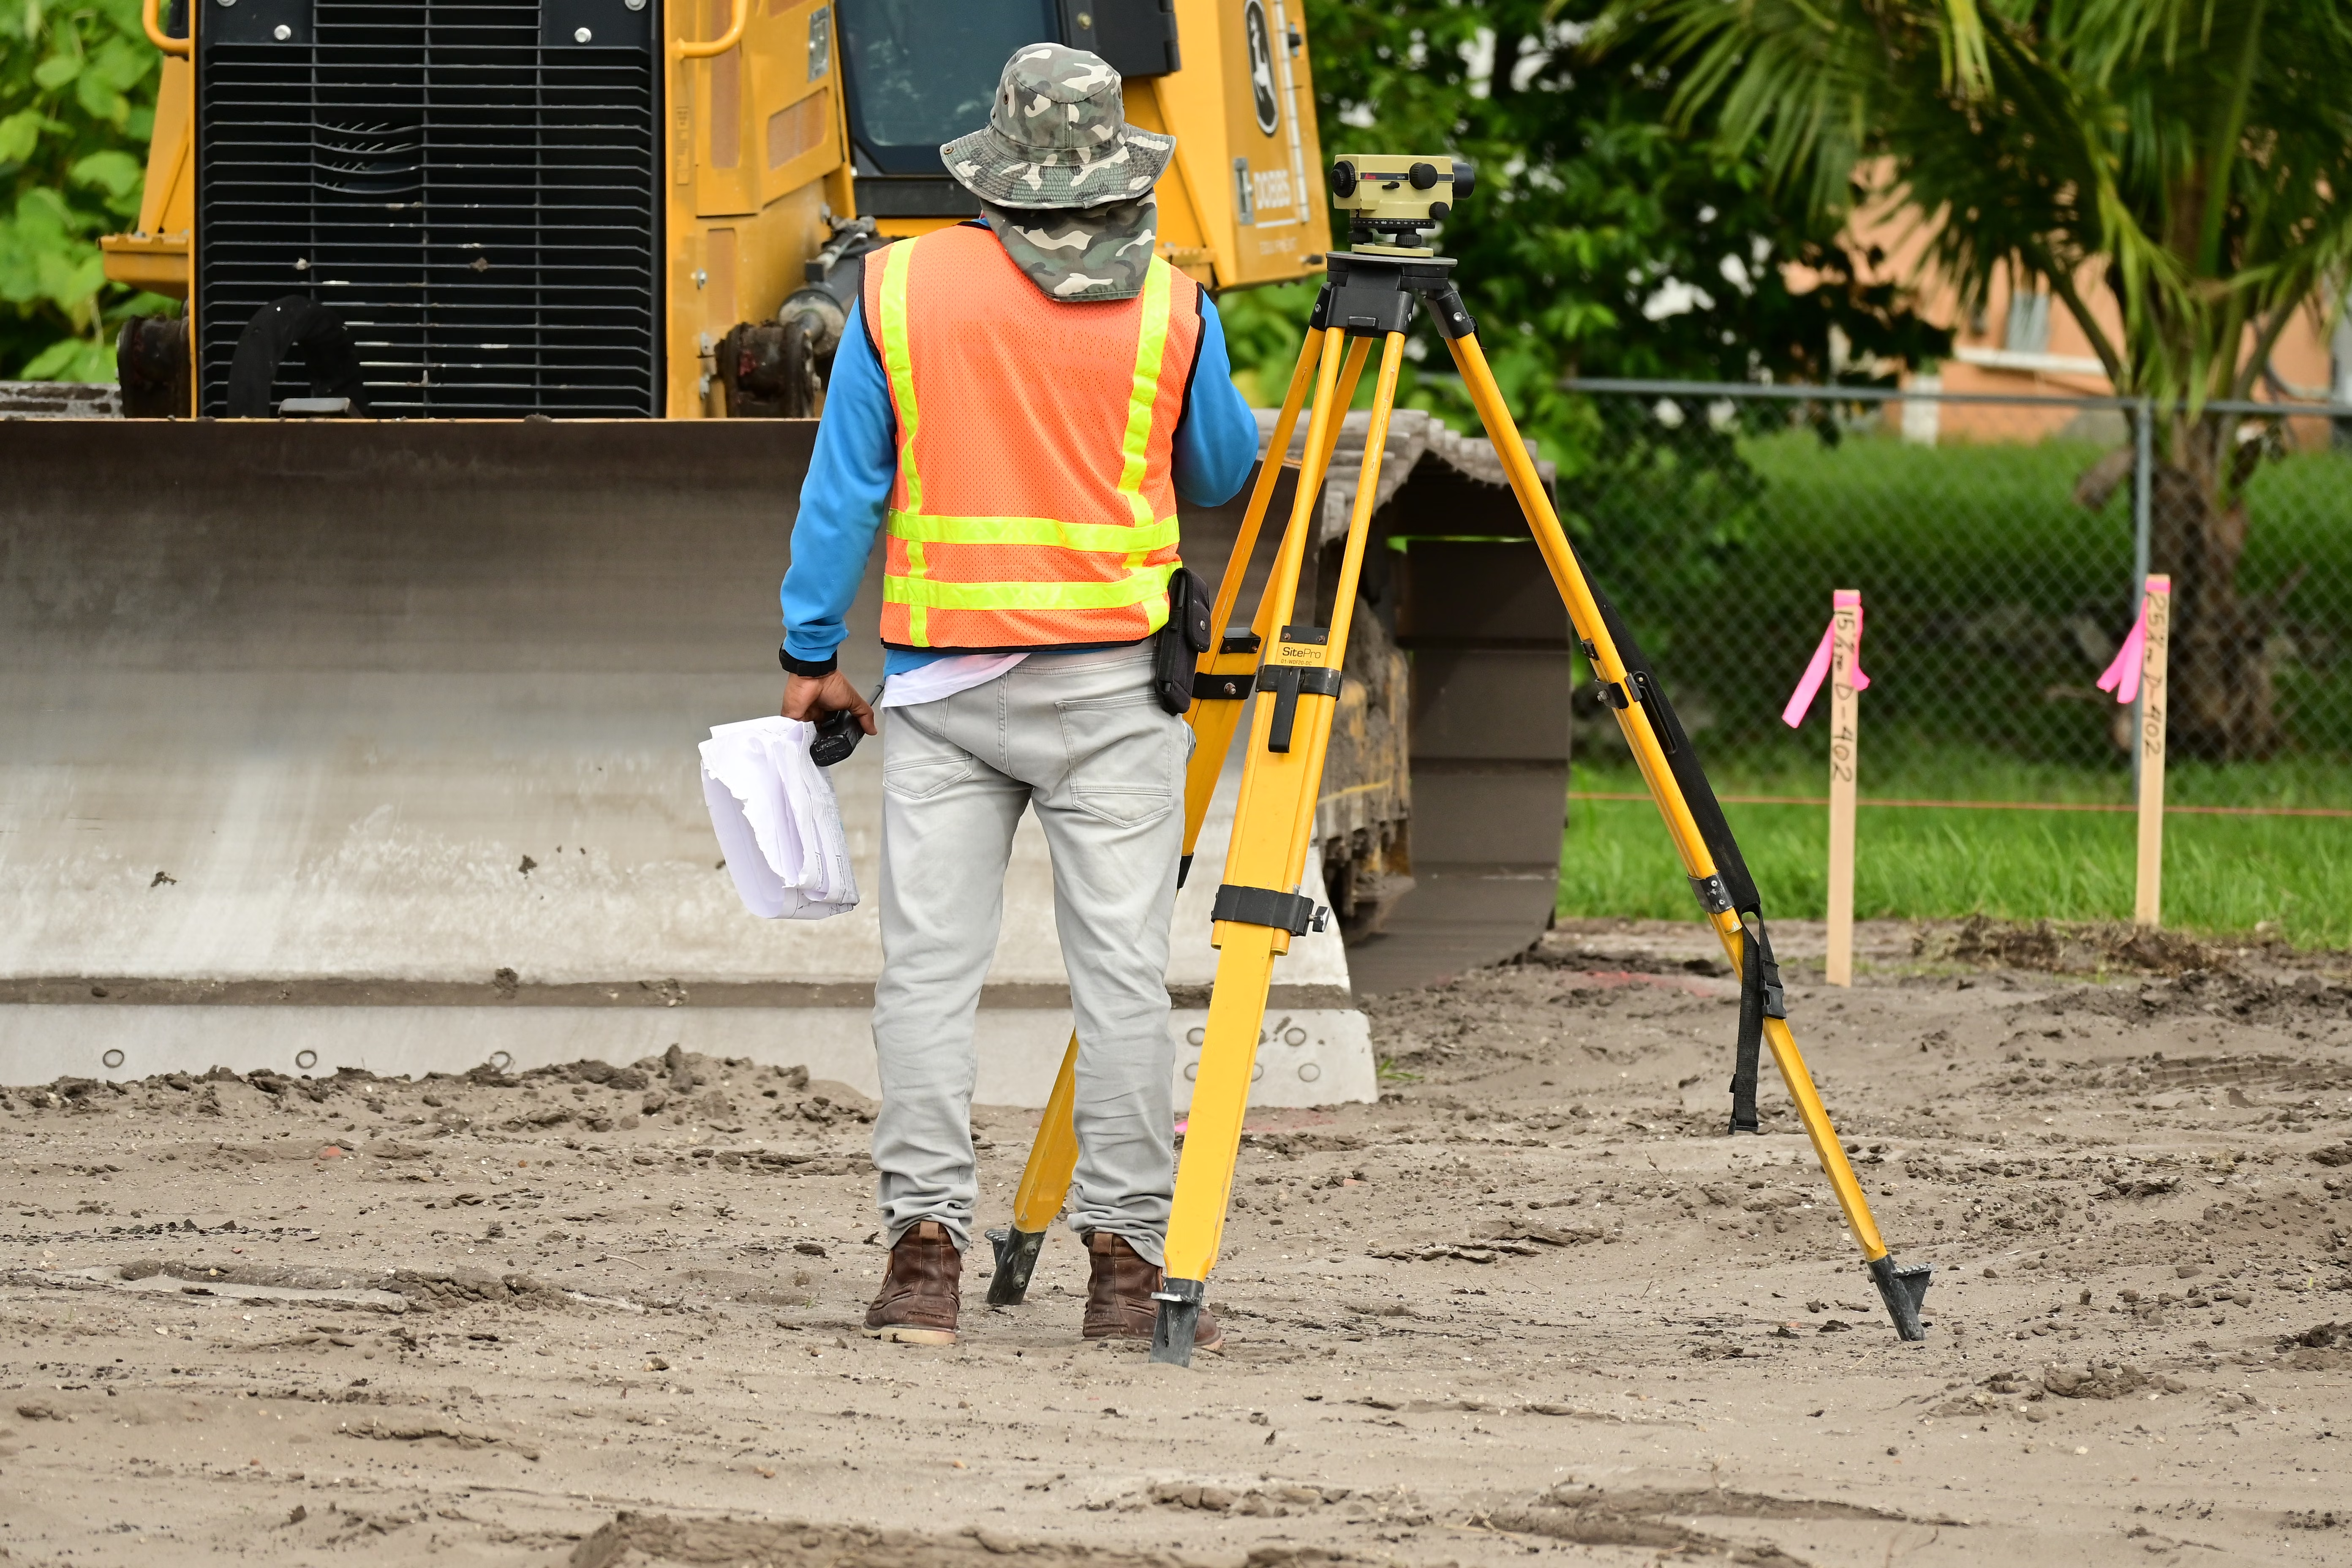
Start with a licensed boundary survey confirming property lines, easements, and setbacks before anyone breaks ground. Building on the wrong line, even by a few feet, can force a redesign or legal dispute later.
Check zoning classification and pull permits from your local building department. Rural counties and city lots often have very different rules for driveway access, minimum square footage, and road setback.
Many counties also require a floodplain determination before issuing a permit. Before spending on design or engineering, check your parcel against official flood zone data through the FEMA Flood Map Service Center.
Step 2: Test and Evaluate the Soil
Soil type determines your foundation design, septic option, and drainage plan. A percolation or other site evaluation may be required before installing a septic system, depending on local rules, and a soil boring or geotechnical report tells your contractor how deep and wide footings need to be.
Before paying for a private soil test, pull up your parcel on the USDA NRCS Web Soil Survey. This free federal tool offers drainage class, shrink-swell potential, and engineering interpretations related to bearing capacity for most counties. These are map-based estimates, not site-specific measurements, so treat them as a first check before a paid perc test or geotechnical report, not a replacement for one.
Example scenario: A buyer in central Indiana assumes her wooded acre will perc easily since a neighbor's septic worked fine two lots over. USDA soil data flags a potential seasonal high water table in the area, prompting a site-specific evaluation that confirms the condition, pointing to an engineered mound system instead of a standard field and adding several thousand dollars to her budget. Catching that early avoids a mid-build change order.
Step 3: Clear the Lot and Manage Drainage
Once permits and soil work are settled, clearing can begin: trees, stumps, brush, and existing structures come out. Keep a buffer of natural vegetation where you can, since disturbed soil erodes fast and many municipalities require erosion control before grading.
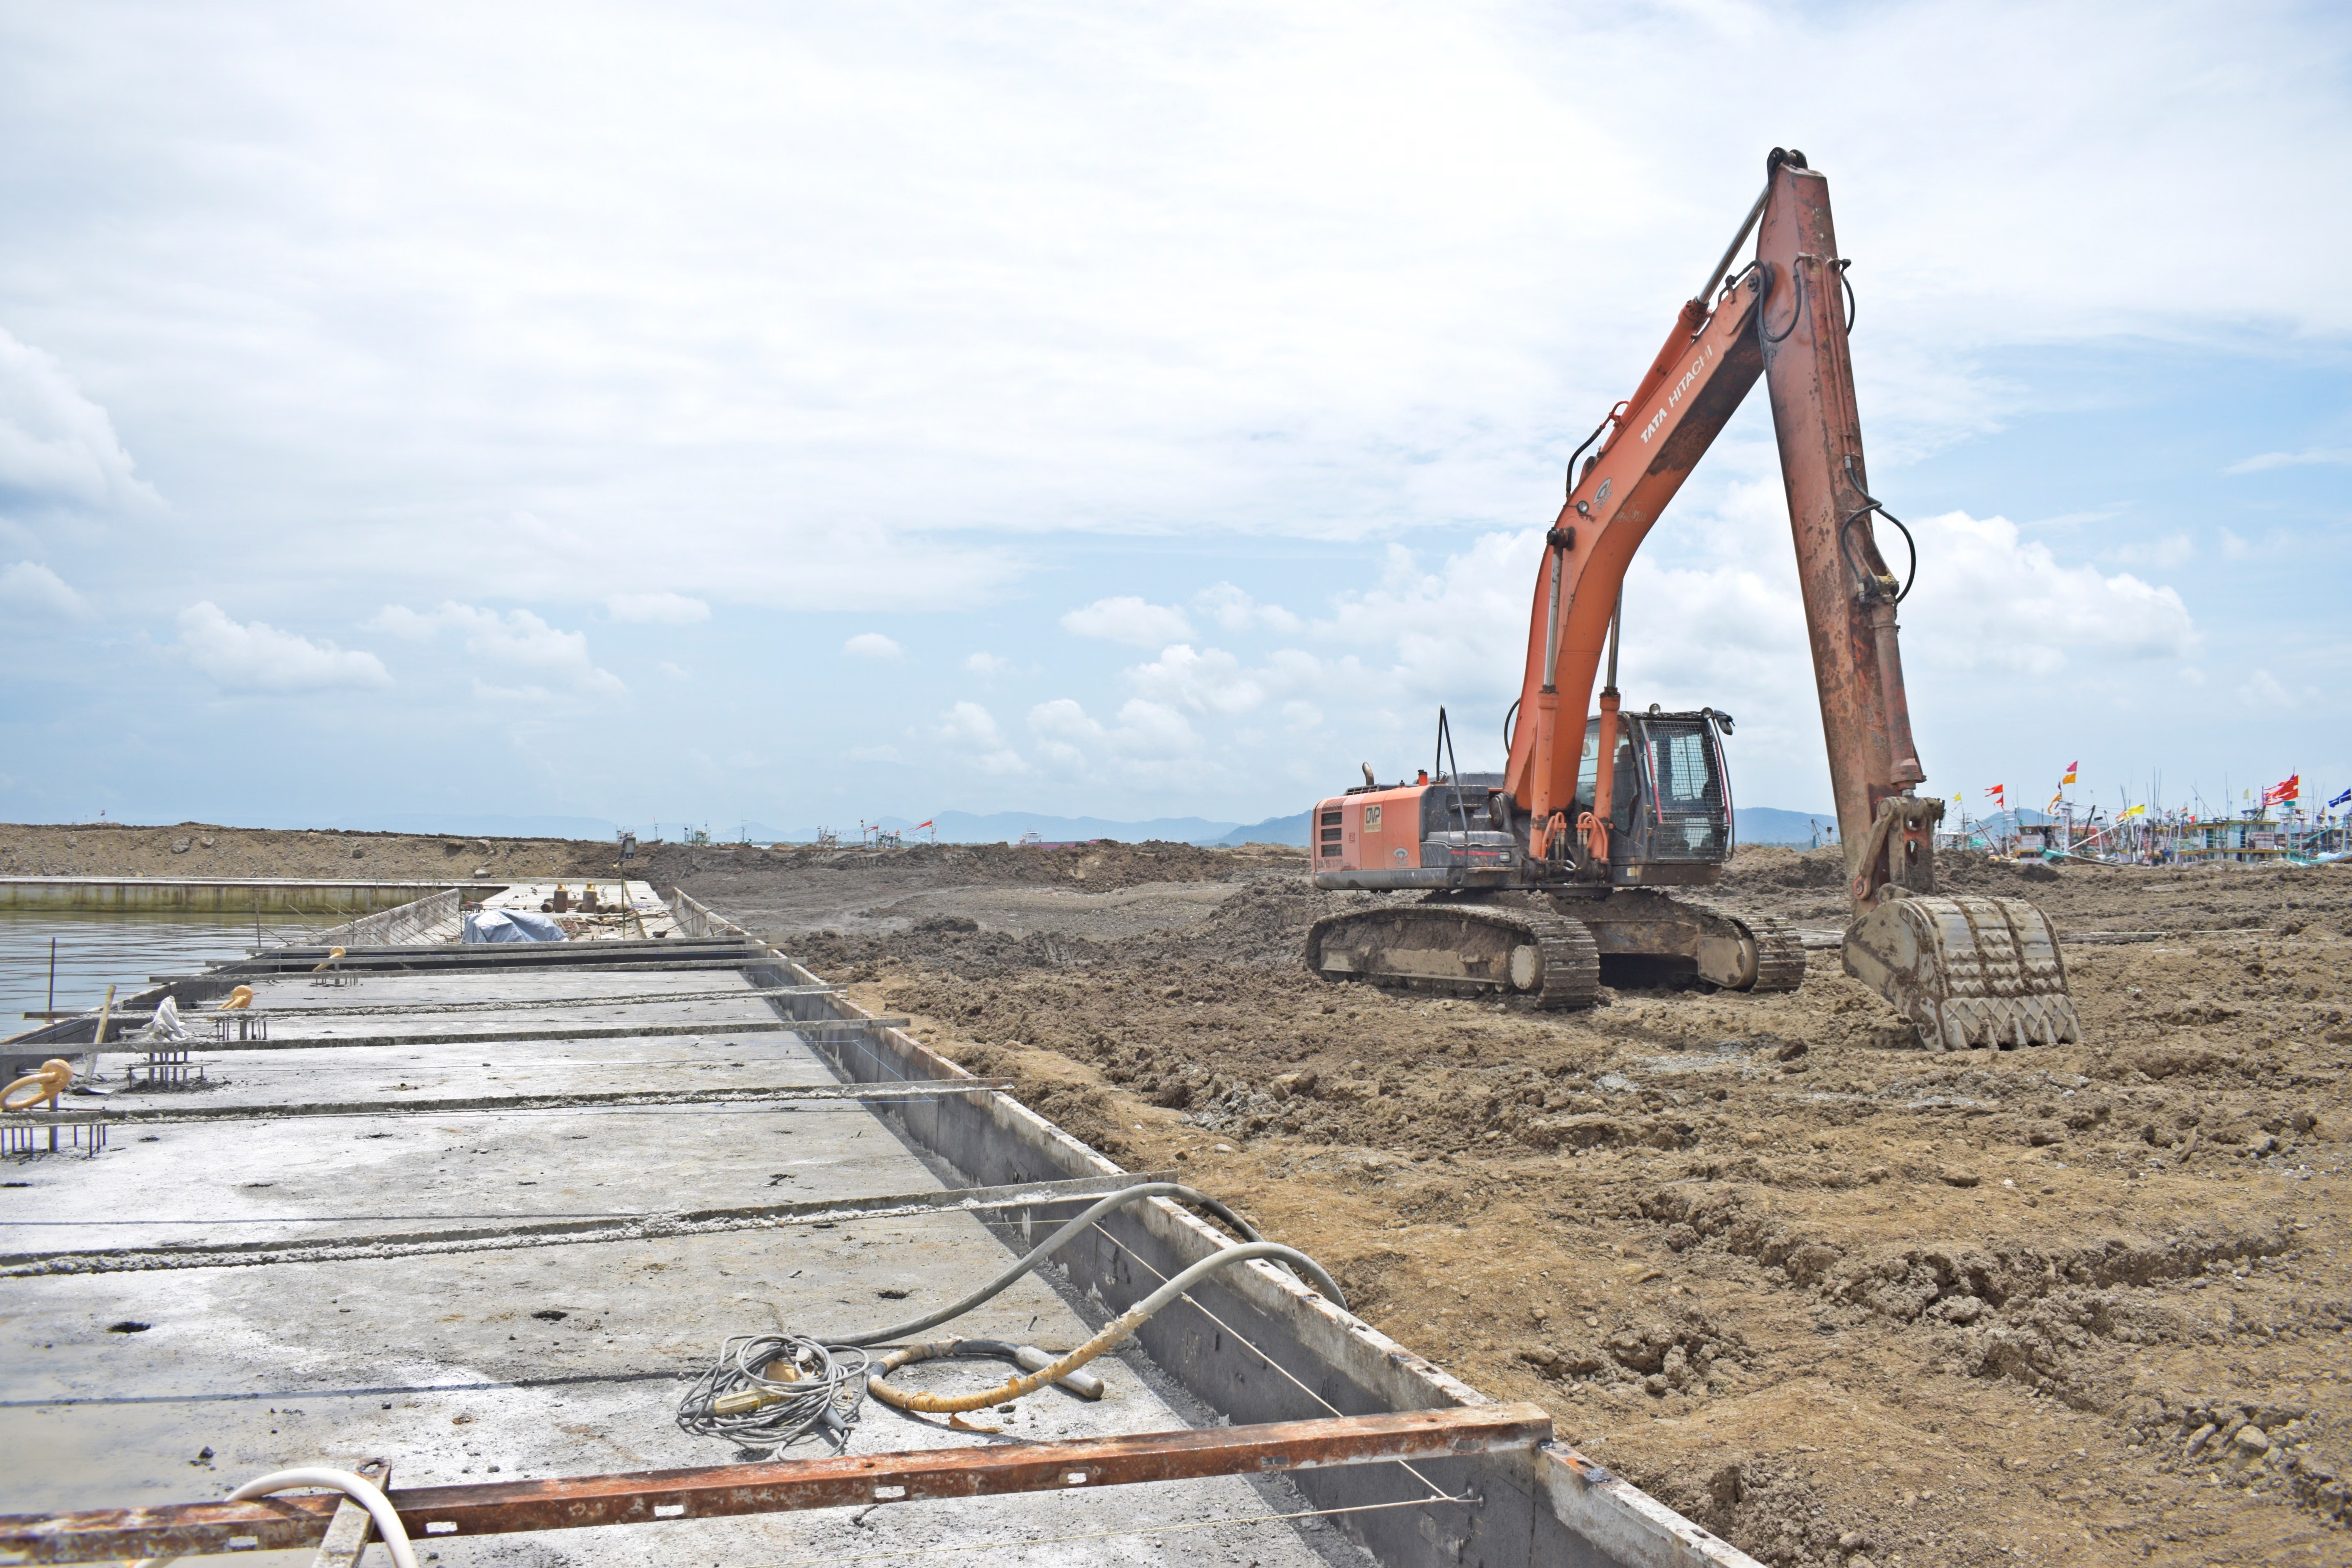
Grading comes next to create a stable, level building pad. Grading should direct water away from the foundation, following local building codes and the site engineer's specifications. Poor grading is one of the most common causes of foundation and moisture problems years after move-in.
If your project disturbs more than an acre, review the EPA's construction stormwater control guidance, which covers erosion and sediment control practices, like silt fencing, that many local permits require.
Step 4: Plan Utility Access Early
Utility work is one of the most underestimated costs in land preparation. Confirm what is available at the road: electric, water, sewer, and whether you need a well, septic system, or propane. Lots with existing public water and sewer generally need less site work than rural properties, which require a private well and septic, adding cost and lead time. Even lots near public utilities aren't automatic, though: connection fees and line extensions can still add cost depending on distance from the main.
Order utility locates before any digging begins. This helps protect existing lines and may be required before excavation, depending on your location.
 Get your free land and home site evaluation from Home Nation
Step 5: Build Access and Stabilize the Pad
Heavy equipment, delivery trucks, and later an installation crew need a stable path onto the site. A temporary gravel access road prevents ruts, especially on clay-heavy or wet lots. Compact the building pad with a plate compactor or roller, since loose fill soil settles unevenly under a foundation.
What Most People Get Wrong About Site Prep
The most common mistake is treating site work as separate line items instead of a sequence: pricing grading, septic, and survey work independently, then discovering the septic layout depends on survey setbacks, and grading depends on the septic field. Out-of-order work causes rework.
The second mistake is skipping a written site evaluation before ordering a home. A qualified installer walking the lot, not just reviewing a plat map, catches access, slope, and drainage risks a desk review misses.
How Home Nation Supports Your Site Prep
Home Nation coordinates with buyers on land readiness as part of the home buying process. Our team reviews site access, utility needs, and foundation requirements alongside your financing, so approved numbers match what your lot needs. If you already own land, our guide to building on your own land and installation guide cover what to expect once your site is ready. Contact our team for a site evaluation before you commit to a build timeline.
Frequently Asked Questions
How long does land preparation take before construction starts? It varies by jurisdiction and site condition. Simple lots with existing utilities are sometimes ready in one to two weeks, while rural lots needing a well, septic, and heavy grading can take four to eight weeks or longer. Confirm a timeline with your local building department and contractor.
Do I need a percolation test if I already have public sewer access? No, a perc test only applies when installing an on-site septic system. Confirm sewer availability with your utility first.
How much does it typically cost to prepare a lot for a home? Costs vary by region and lot condition, from a few thousand dollars for a clear, level, utility-ready lot to tens of thousands of dollars for wooded or off-grid parcels needing a well, septic, or extensive grading.
Can I start clearing land before my building permit is approved? It depends on local requirements. Many jurisdictions require an approved erosion control plan tied to the permit before equipment arrives, so check with your building department first.